How Do I Clean Kodak Printhead?
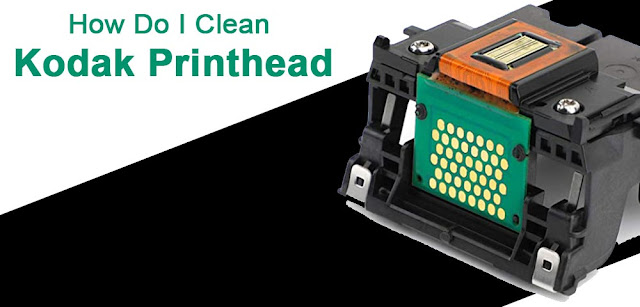
Kodak printers are known for their high-quality printing along with several remarkable features. No matter how excellent your printer is, it depends on the tiny printheads for printing an image. These printheads are also prone to failure once dried ink gets accumulated in them. This can cause several problems in its functionality. Especially when the printhead gets clogged, the printing quality also gets worsened. Hence you must not wait for your printhead to get clogged. Prevention is always better; that's why we highly suggest you take proper care of the printhead by cleaning it on a regular basis. If you don't know how to clean the Kodak Printer Head, follow the guide until the end.
Steps To Clean Kodak Printhead:
Follow the steps mentioned below for cleaning your Kodak printhead.
1. Firstly, you need to turn on your Kodak printer and then open the top cover. After this, wait for a couple of seconds.
2. Next, unplug the cord from the back of the printer. Also, make sure to remove the cord from the wall.
3. In the next step, turn off your Kodak printer to keep the print cartridge in an appropriate position.
4. Next, you have to lift the printhead latch that houses the print cartridges. After this, pull the printhead out of the slot.
5. After this, take a soft cloth and wipe the contact pads. Don't wipe the nozzles located on the bottom of the Kodak printhead, as this can cause severe damage to the printer.
6. Take some distilled water and dip a cotton cloth in it. Use this wet cloth to wipe the contact pads.
7. Gently place the printhead on a paper towel and ensure nozzles are not touching the paper.
8. Next, move to the printhead slot and then clean the contact points with the help of cotton cloth. Wait for about five minutes so that everything can dry out completely.
9. After cleaning everything, you need to plug the power cord back into the wall outlet and another cable into the printer's rear side. The control panel will display a "Printhead is missing" message.
10. Put the printhead in the correct slot and gently press down. Also, ensure that you have placed the printhead at the correct location.
11. Now, close the printhead latch and confirm that the printhead latch is engaged.
12. Lastly, close the printer cover, and now your Kodak printhead is completely clean.
By following the steps mentioned above, you can easily clean your Kodak
printhead and resolve the Kodak printer head issues efficiently for different
models like Kodak esp 3 printer head,
Kodak esp 3250 printer head, Kodak esp 5250 printer head, etc.
We hope you find this guide helpful and informative.
Read Related Blogs: -


Comments
Post a Comment